By Gina Allan and Barb Kopacek
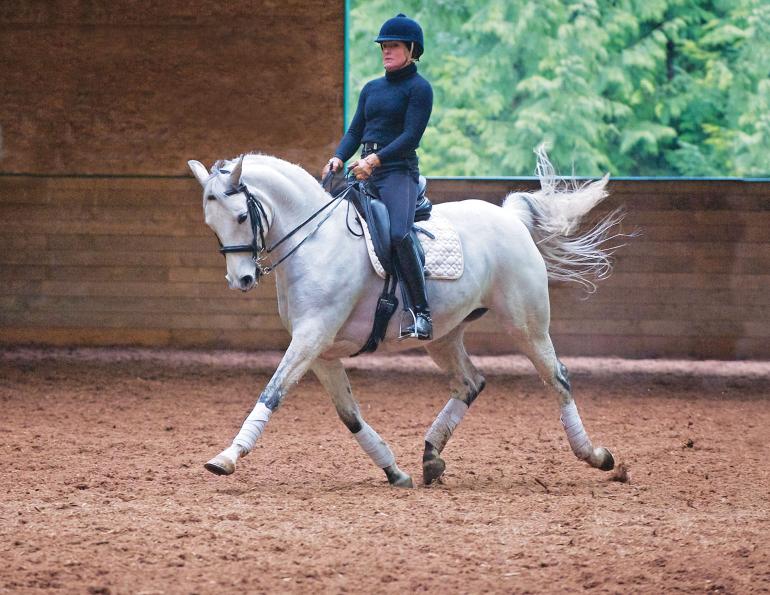
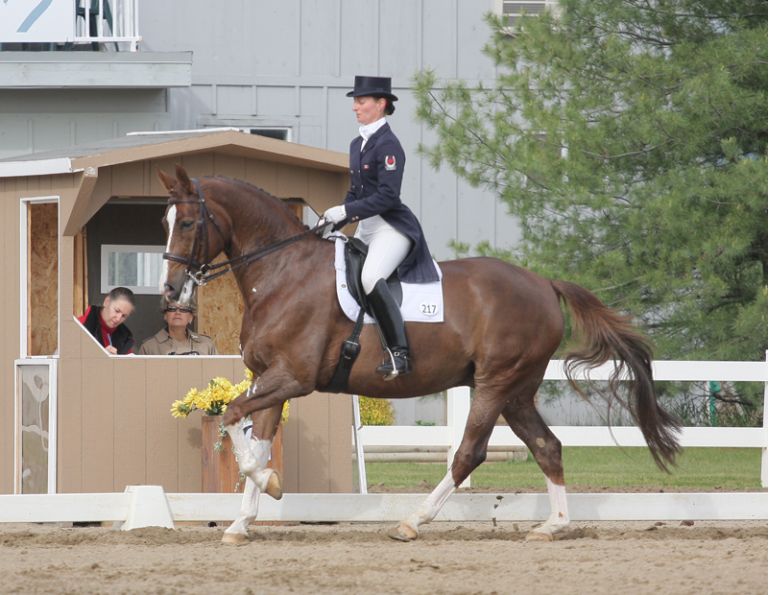
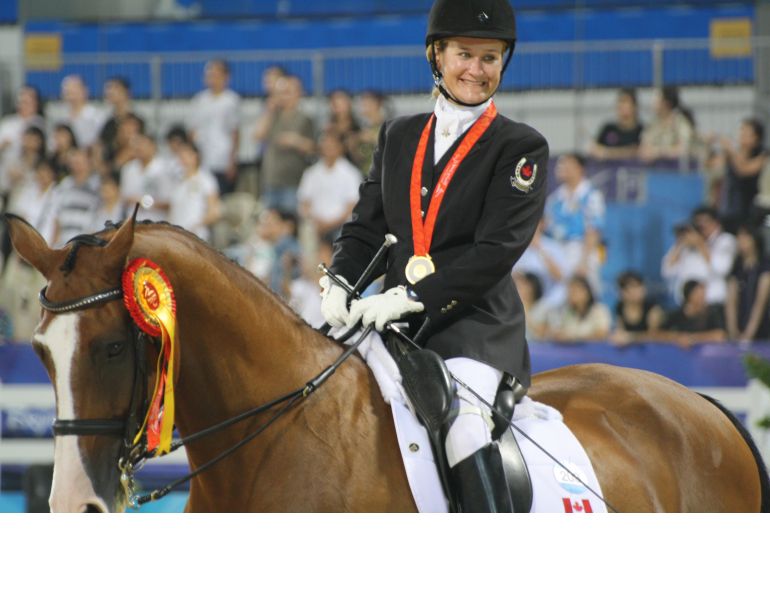
Have you ever witnessed the beauty of a wonderful freestyle, a reining pattern, or perhaps a show like Cavalia in which the rider and horse seem to be working together in such harmony that you can hardly tell where the rider ends and horse begins? For rider and horse to be “one” with each other is the desired state we strive for. What we seek is to seamlessly flow together in a beautiful stream of energy travelling together through space. If your desire is to achieve such a state, and to ride to the best of your ability, then please read on!
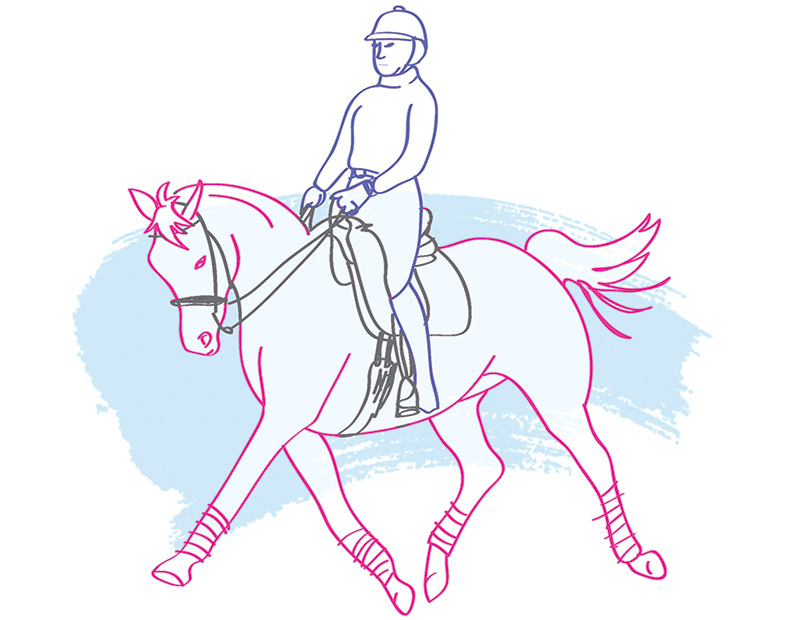
In order to become a better rider, you will have to spend a little bit of time focusing on your own body. Many coaches and their students focus the majority of their riding time and energy on improving their horses’ movement and overall carriage, and reducing resistance. Ironically, many of the issues they attempt to correct are the direct result of a blocking or restriction brought about by the rider’s imbalanced or asymmetrical position. Often, if these rider issues are corrected, the resistance held by the horse’s body magically disappears. Just as we train our horses, we must also train our own bodies, and in this way we will successfully improve both our riding and our horses’ way of going.
When approaching a fitness regime or undertaking a sport or kinetic activity such as dance, there are four major components to consider: aerobic capacity, flexibility, strength, and balance. All athletes, young and not so young, will benefit from enhanced or dry land training off the horse, which allows the body time to adapt and develop muscle control and balance without having to deal with the complex aspects of the motion of the horse.
Training the body in this way ensures that it can and will develop symmetrically so we do not become dominant on one side of our body. Body dominance, or one-sidedness, is one of the many ways we create resistance in our horses. Not only is asymmetrical dominance hard on the horse’s body, but if prolonged may lead to joint imbalance which can cause chronic biomechanical issues in both horse and rider. Some under saddle exercises, such as lunging the rider on the horse, will improve position, but if the rider has underlying imbalances, and most do, then she really needs to get off the horse and work in a static or non-moving environment. This allows the body the proper time and focus needed to correct the issue.
As riders age, it becomes even more imperative that they prepare their bodies so as to reduce and avoid injury. When the body is not prepared for riding, commonplace injuries often include these areas: upper and lower back, neck, hip, knee, and ankle. But with the right exercises, most of the injuries caused by trauma, strain, fatigue, or muscle imbalance over a joint can be avoided or at the very least minimized. This is where “static state” or dry land training comes in.
Now, let’s discuss range of motion (ROM). Here we look at the body as though it was constructed of levers (the bones) and pulleys (the muscles) and the points where the meet (the joints). ROM refers to the full movement potential of a joint. When ROM is limited or restricted over a joint, excessive wear and tear on the joint will occur, much like stress on the hinges of a door that can open and close only halfway. Generally the result of muscle (pulley) imbalances over the joint, if this reduced ROM continues over a prolonged period of time, the overworked portion of the joint may begin to deteriorate (relating to osteoarthritis). Joint destabilization in the lateral plane over the joint can cause side to side stress in the joint, as can similar muscle imbalances of strength and/or flexibility. If we combine any of these scenarios with the repetitive concussive forces the body sustains during riding, we could be in trouble.
Let’s say, for example, a rider has tight inner thigh muscles. The muscles of the inner thigh lie over the horse’s back in such a way that if they are too tight, they will not be able to get down around the horse’s body properly. This will restrict or block the natural flow of energy that runs from the hind legs through the horse’s back, and to the bridle, which should create contact. The horse will likely respond by lifting its head in the air, and dropping its shoulder and back. The horse may very well soldier on in spite of the rider and attempt to do what the rider is asking for, or it may present one of any number of signs of disobedience, such as refusing to go forward, rearing, bucking, or even spooking. A picture of a happy horse this does not make! But, if the rider would spend some time stretching the inner thigh, this problem would likely disappear. If you can develop the correct strength-to-flexibility ratio, you will naturally flow more easily with your equine partner. Having a healthy and well-functioning body is the best way to create a happy horse!
The following exercises are designed to help you find more balance, flexibility, and strength. These will help improve the harmony and unity of your ride as you strive for that seamless flow of energy with your equine partner.
Podcast: Posture, Behaviour, and Your Horse
Related: Support Your Back When Riding Horses
1 - Three Point Touch Position
Begin by standing with your back against a wall, feet about hip-width apart. Ensure your balance is even between your forefeet and heels. Lift your arches slightly to put a bit of pressure on the outer parts of your feet. Your legs should be straight, but do not lock your knees. From here, there are three points of contact – the back of your head, your upper back between your shoulder blades, and your pelvis – which we will be working with.
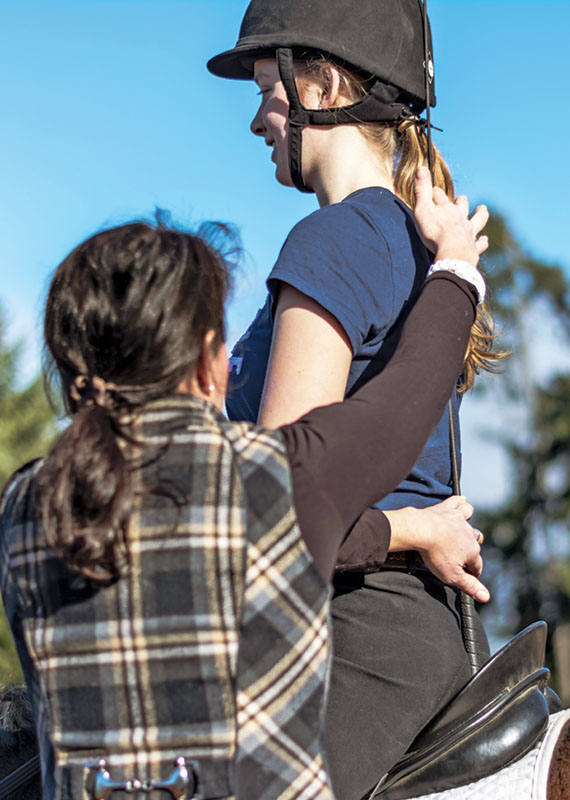
Position your pelvis so your tailbone is pointing at the floor. Contract the front of your pelvis as if you were trying to stop the flow of urine and pull your navel in toward your spine and up toward your sternum. Try to avoid tipping your pelvis by imagining it’s like a bowl of water and you need to keep the water level in the bowl. Lift your ribcage up out of your hips as if you were being picked up by your underarms. This will enable the back of your ribcage (an area that is too often overlooked yet plays an integral role in posture) to lift also. Broaden and lower your shoulders while keeping the lift in your torso. Place your shoulder blades against the back of your ribcage so your upper back can lay flat against the wall. It is important to avoid scrunching up your shoulders. With your arms straight under shoulders at your sides and palms facing forward, lengthen through the back of your neck as if the back of your head was being lifted like a marionette. This will also help you maintain the lift in your torso. Keep your chin parallel to the ground while gently drawing it in and touch the back of your head to the wall. Now you’ve achieved the Three Point Touch!
2 - Bird Dog (With Three Point Touch Posture)
Begin in tabletop position, kneeling on hands and knees. Engage your core by contracting your abdominals inward and slightly upward as you exhale. Extend an opposing arm and leg (e.g. right arm and left leg) while keeping your hips and shoulders level and square to the floor. Lift your extended arm and leg toward the ceiling until just above the midline of the body, by about four to six centimetres, and then return to the neutral tabletop position. Repeat eight to ten times on each side, working up to two sets of eight to ten reps.
This exercise may also be done with weights, which helps build symmetrical core strength.
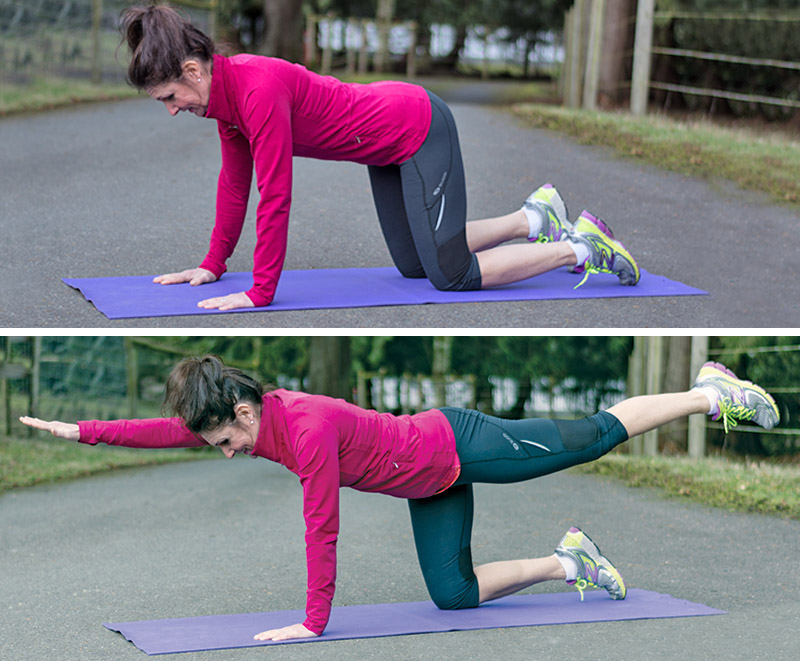
Bird Dog Positions A (top) and B (bottom)
3 - Hip Flexor Stretch Stretches
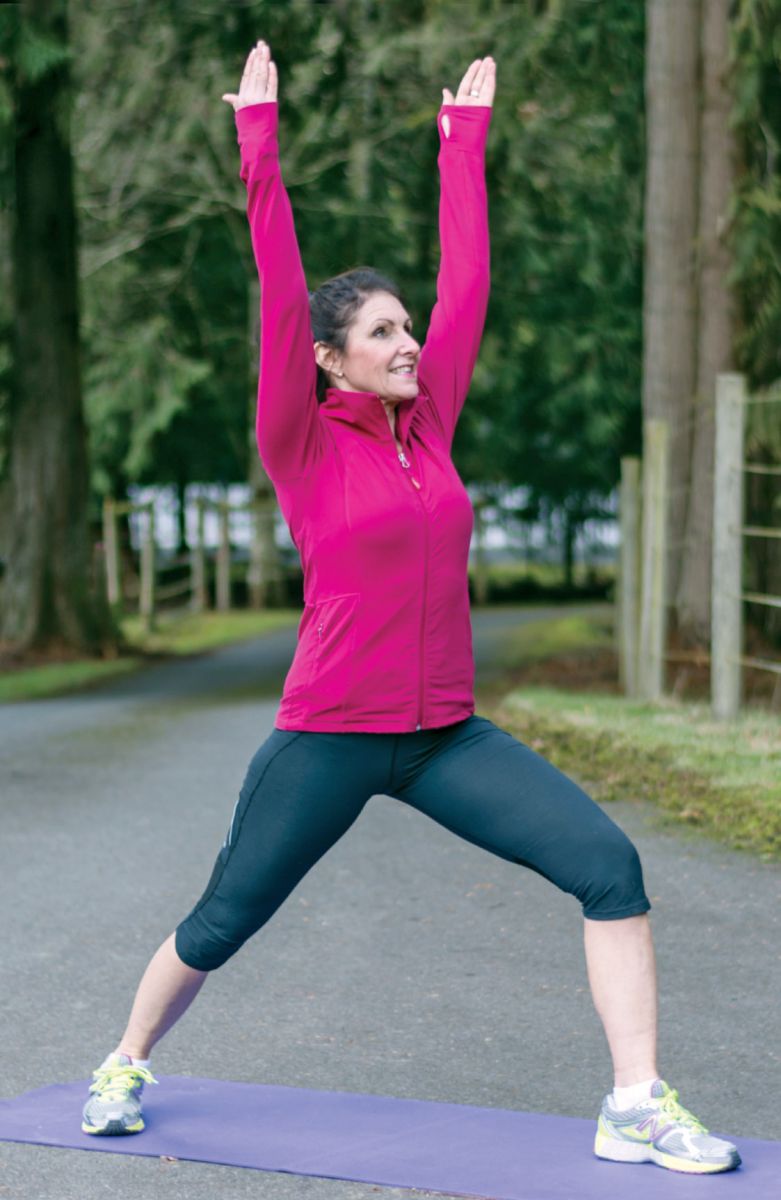
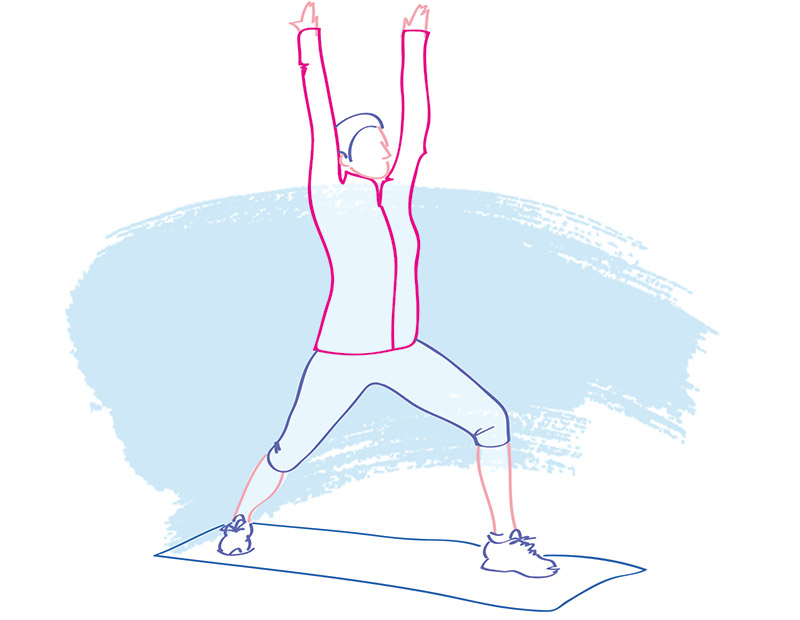
Standing in a lunge position, feet about one metre apart, position your front foot facing forward and your back foot turned out about 30 to 45 degrees, both on the same parallel line. Gradually turn your hips and shoulders forward with your tailbone tucked under. Begin to bend your front leg, with your front knee tracking over your second toe. Avoid allowing your knee to pass in front of your front foot. Stretch up through your torso and breathe. Hold for 30 seconds to 1 minute. Repeat with your other leg.
Related: How to Fall off a Horse
Related: Rider Posture - What is Actually Involved?
4 - Sitting Inner Thigh Stretch
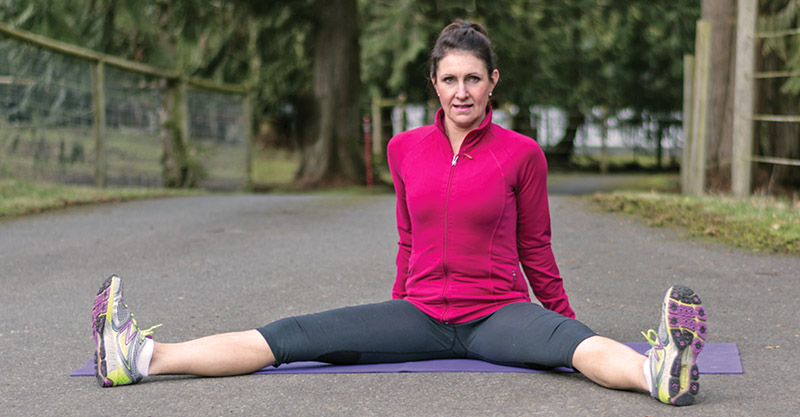
Start in a sitting Three Point Touch position. Keep your spine tall by imagining you have a cord extended up from your head. Extend your legs in front of your body. Bring your legs apart to stretch your inner thigh, and as your legs relax, attempt to bring them out to about 130 degrees. Keep your feet facing skyward and try to avoid rolling your feet outward or inward. Feel the stretch along your inner thighs. Hold for 30 seconds to one minute.
5 - Lying Hamstring Stretch
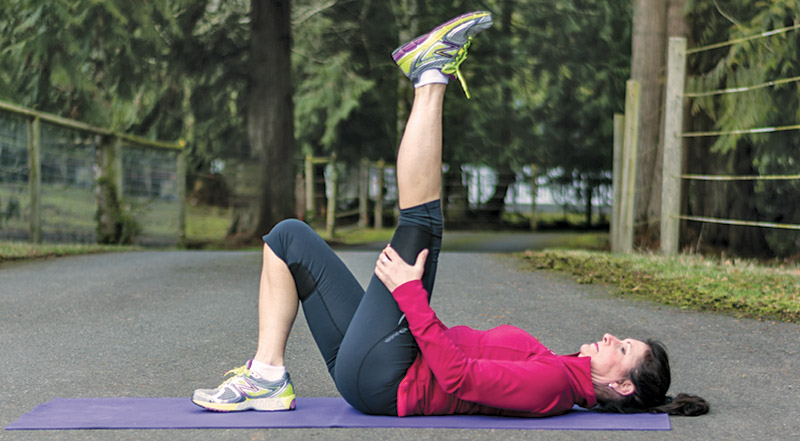
Lie on the ground or a tack trunk on your back (supine) in good Three Point Touch position. Bring your knees up to your chest. Place your right foot on the ground and raise your left leg in hand skyward, then draw your extended left leg toward your chest. When you feel the stretch at the back of your thigh, stop and hold the stretch for 30 seconds to 1 minute. Repeat with your other leg.
6 - Lying Quadriceps Stretch
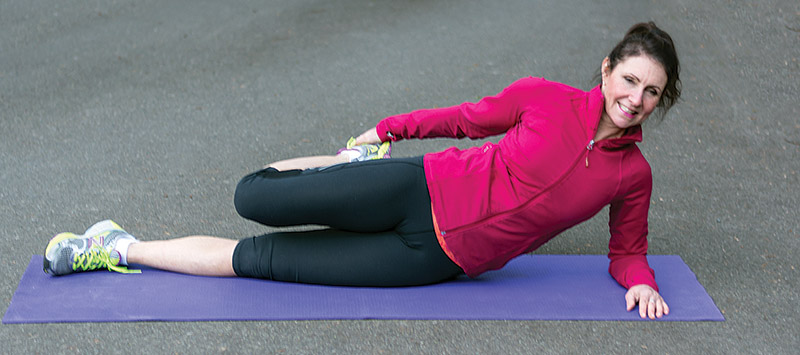
Lie on your side with your legs extended, contract your abdominals up and in. Bend the knee of skyward leg to bring your heel toward your seat. Clasp your ankle or pant leg with your hand. Keep your pelvis tucked under to protect your back and try to bring your knees together under your hips. Breathe and hold 30 seconds to one minute. Repeat with your other leg.
7 - Transverse Abdominal Strengthening
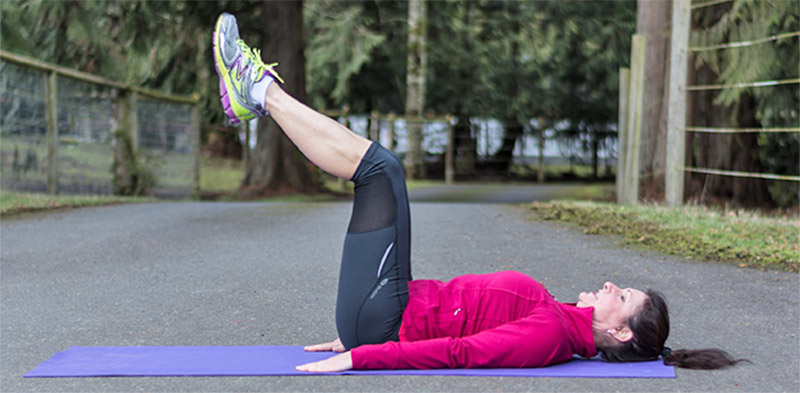
Lie on the ground on your back in good Three Point Touch position and place your fingers on the inside of your hip bones. Cough lightly, feeling the lower abdominal muscles pop out as you do so. These are likely your obliques. What we want to do now is contact and connect with the deeper layer of muscles called the transverse abdominals. In order to do so, you must not allow your obliques to become engaged or dominate your transverse abdominal muscles. Now, begin by taking a deep breath, and as you exhale keep your fingers on the inside of your hip bones. Press your lower abdominals, your waist, and your lower back into the floor in order to maintain the Three Point Touch position. Imagine a triangle that forms from one hip bone to the other hip bone and down to the pubic bone. Try to create a concave position between your pelvic bones, and hold this for 10 to 30 seconds. Repeat, and remember to continue breathing as you do this exercise. When you have accomplished this (without allowing your muscles to pop out), try lifting one leg at a time toward your chest, keeping your knee bent at 90 degrees so your heel stays away from your glutes. Slowly lower your leg. Do not let your abs pop outward or your pelvis shift as you lower your foot to the floor. Repeat with your other leg.
7A - Transverse Abdominal Strengthening
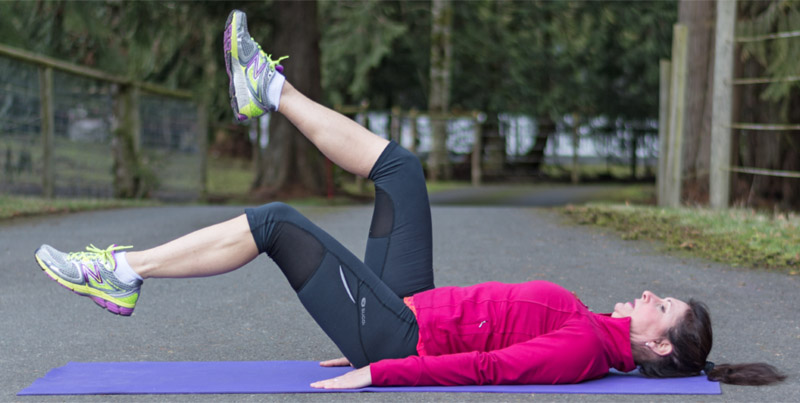
7B - Transverse Abdominal Strengthening
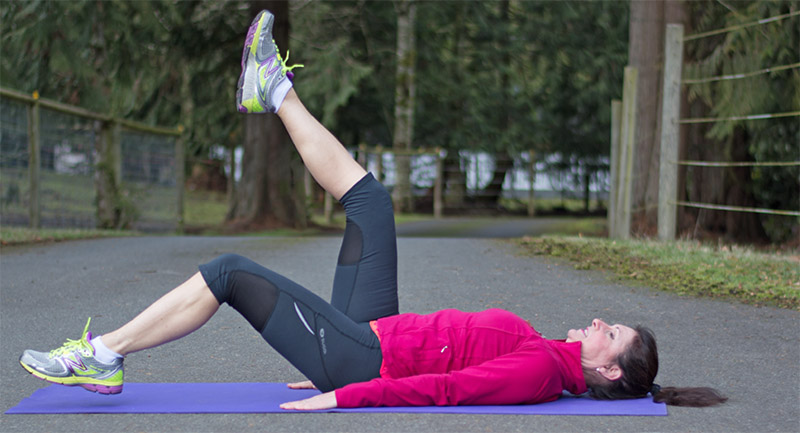
7C - Transverse Abdominal Strengthening
If you find you can perform this exercise with each leg individually without moving your pelvis or loosening your abdominals, then try it with both legs at once. You can try it in reverse order as well. You will feel the desire to let your abdominals pop outward, but do not give in! Repeat up to 20 times – SLOWLY! And remember to breathe.
Related: Pilates for Every Equestrian
Related: 11 Exercises to Improve Your Riding Position
Exercise photos by Nancy Adams/Hooves Included Photography.
Illustrations by Elisa Crees/Canadian Horse Journal.
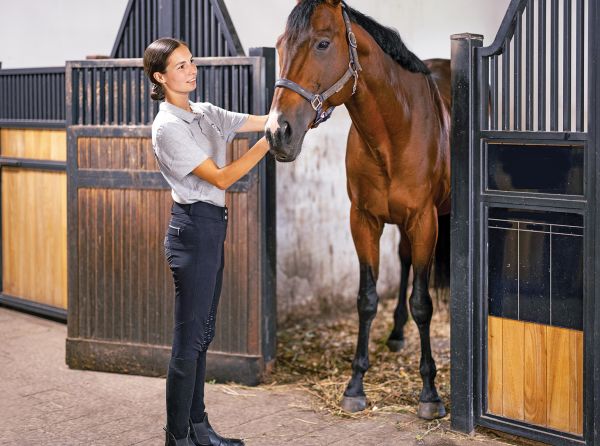
Main photo: Isabel Springett - Developing a healthy and well-functioning body yourself is the best way to create a happy horse!


